Get Started with OneCal
Every new OneCal account starts with a 14 day free trial, no credit card required, so you can explore all our features and decide if OneCal is useful to you.
Create your OneCal account
Sign up at https://app.onecal.io/login. You can create your OneCal account in four ways:
- Email: Enter your email address and we send you a magic link that signs you in. There is no password to create or remember, OneCal is completely passwordless.
- Microsoft
- Apple

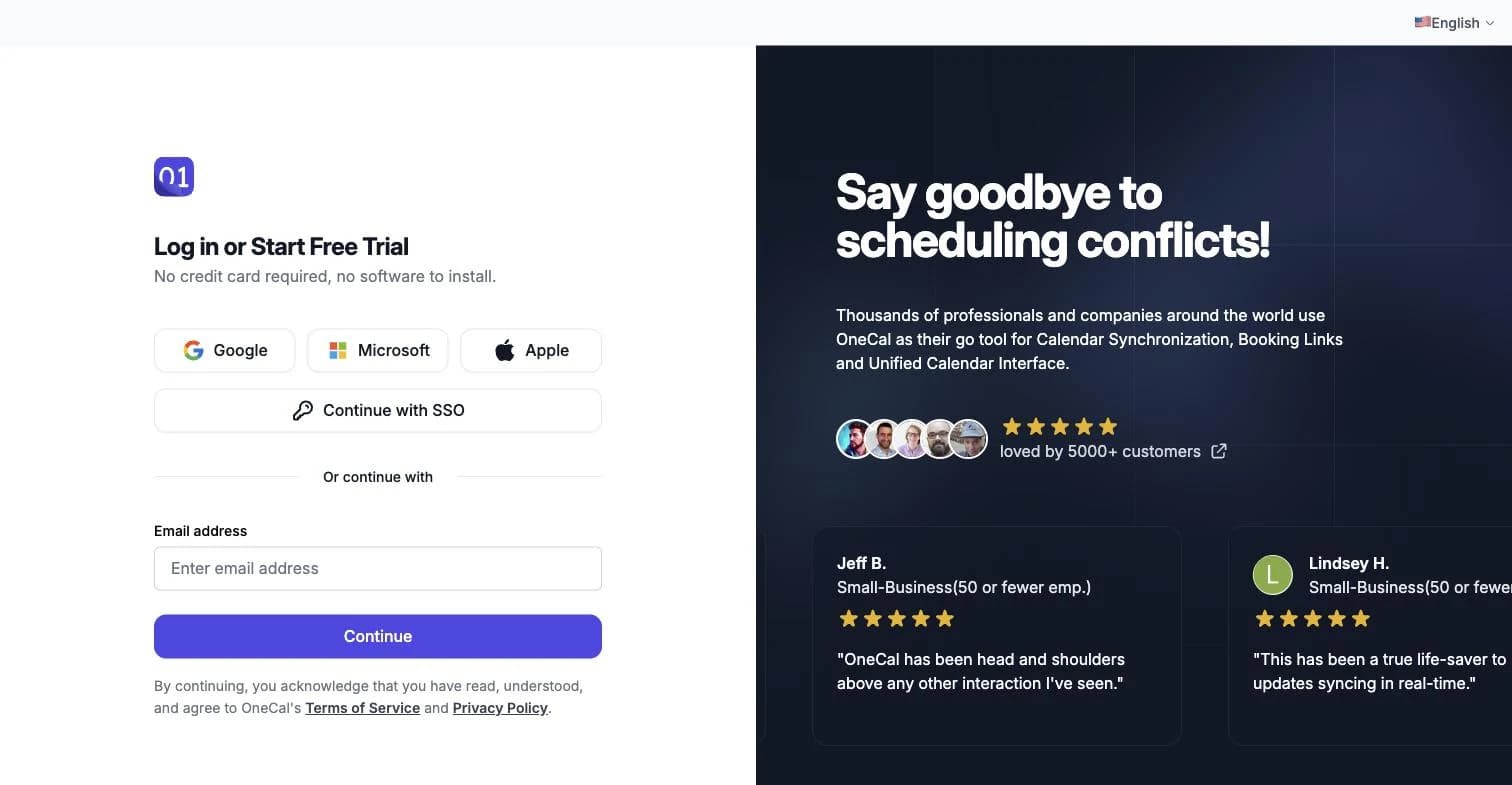
Whichever method you choose, signing up and logging in work the same way. You can also add more login methods to the same OneCal account later, see Login Methods.
Good To Know
The login account you sign up with does not limit which calendars you can connect. For example, you can sign up with your Google login account and still connect Outlook and iCloud calendars afterwards.
Complete the Onboarding
After signing up, the next step is to complete the onboarding. It takes about a minute, as you're only required to enter your name and connect your calendars.
Enter your Name and Profile Picture
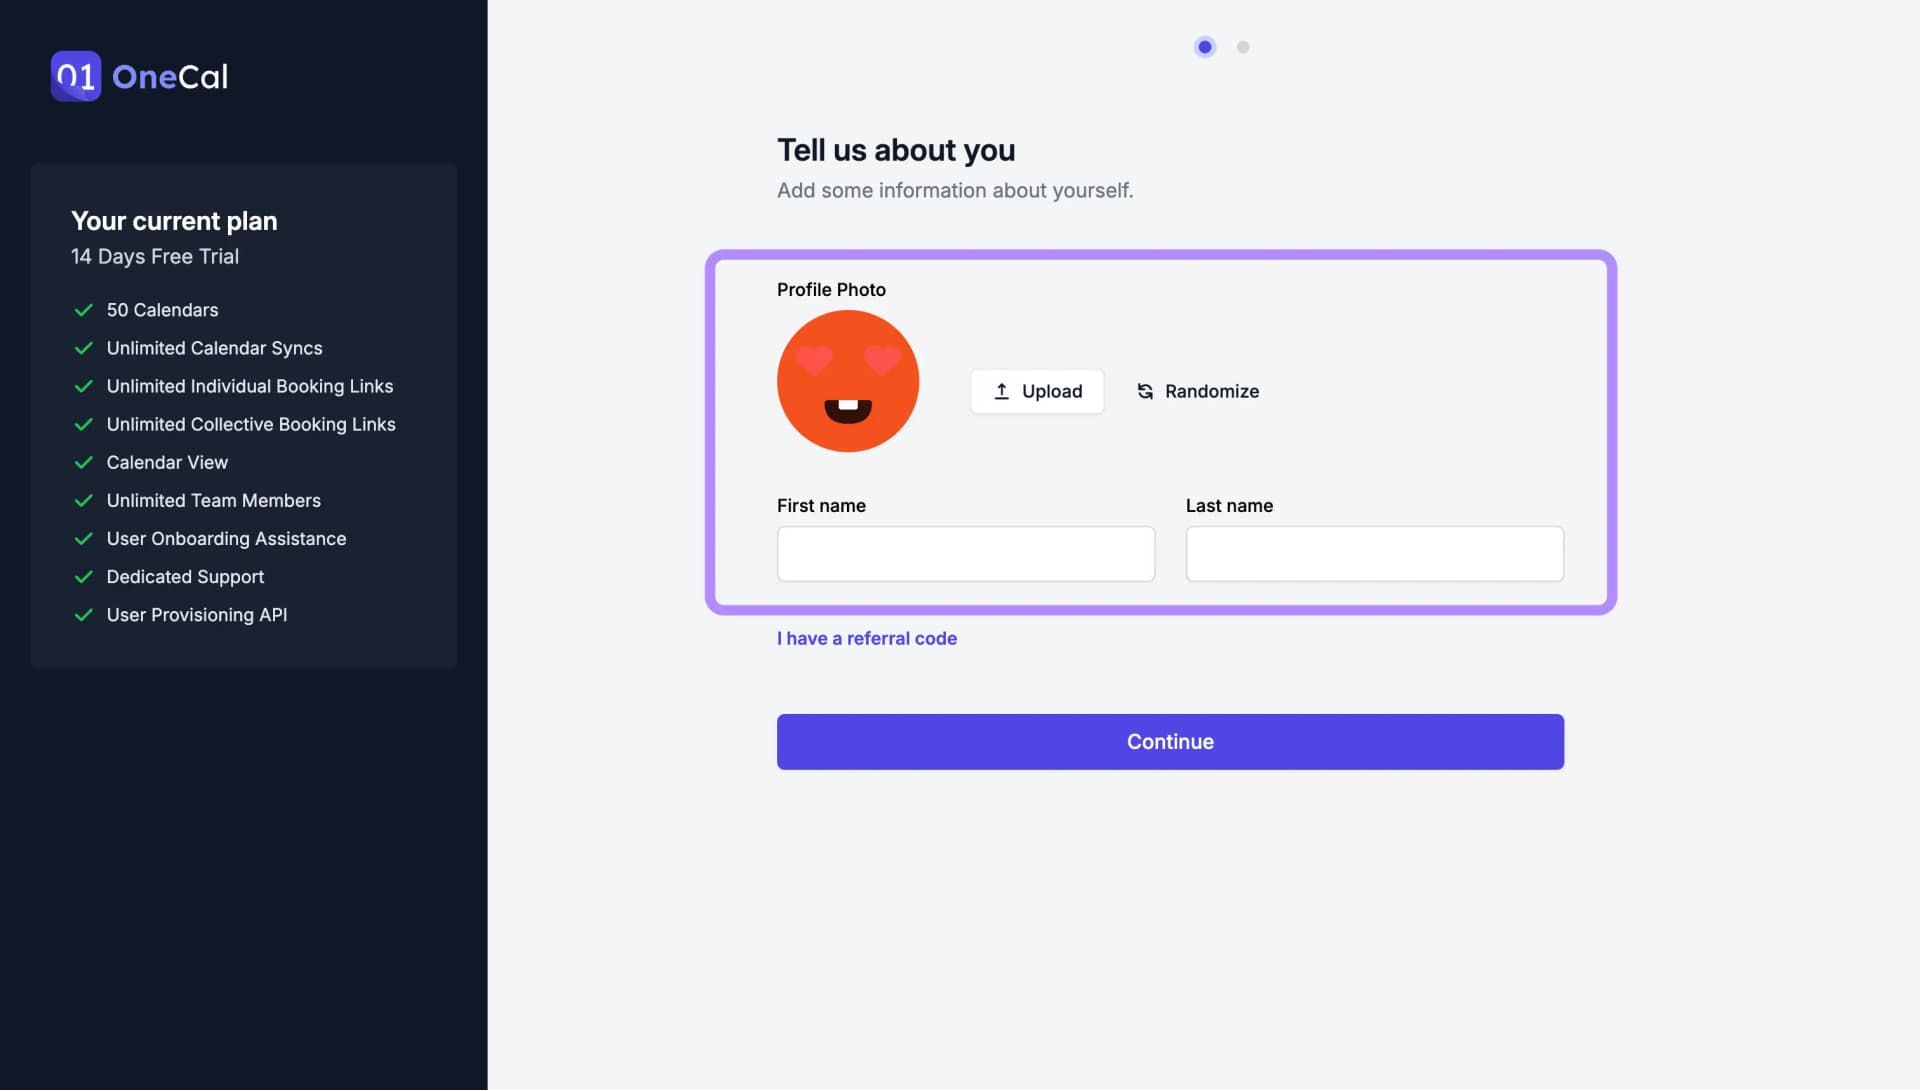
The first onboarding step is to enter your name and profile picture. The name will be used across all your Booking Links and Booking Pages.
Enter your Referral
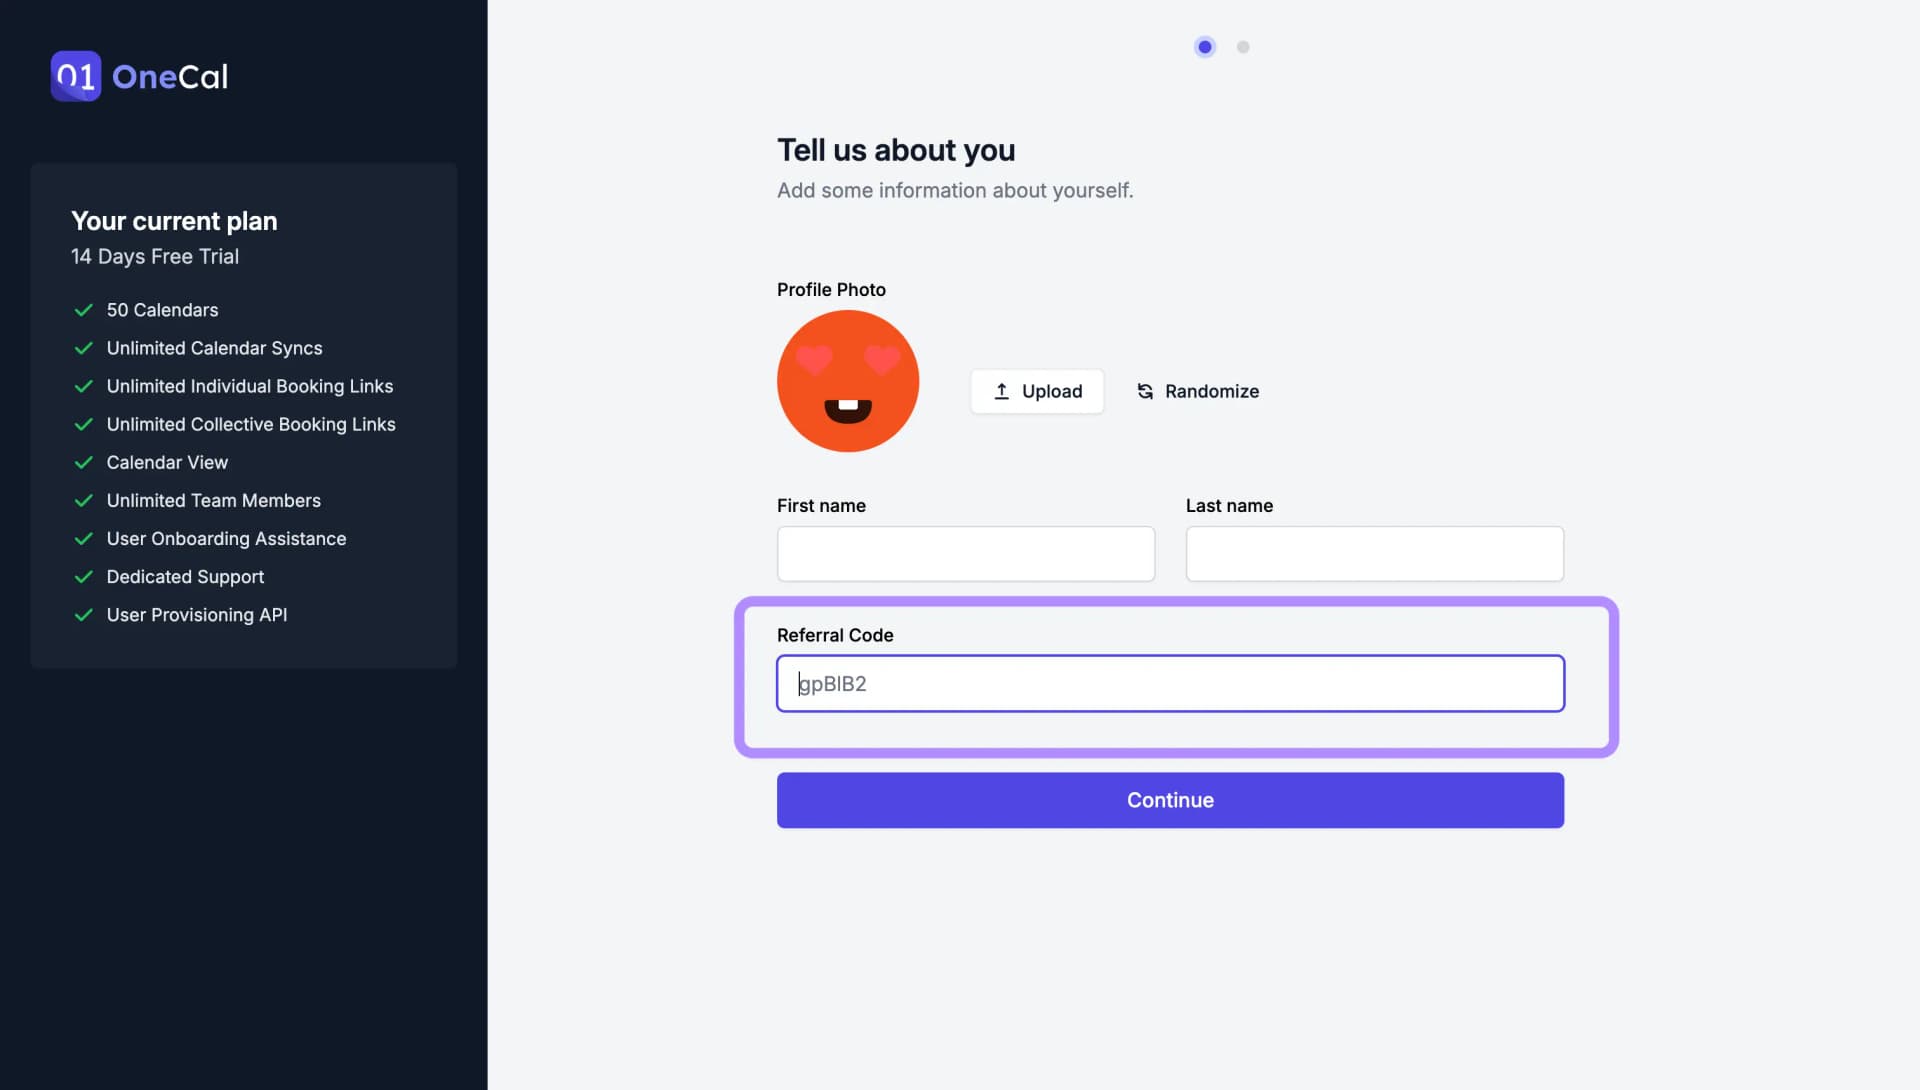
In case you have a referral, you can enter it on this step as well.
Connect your Calendars
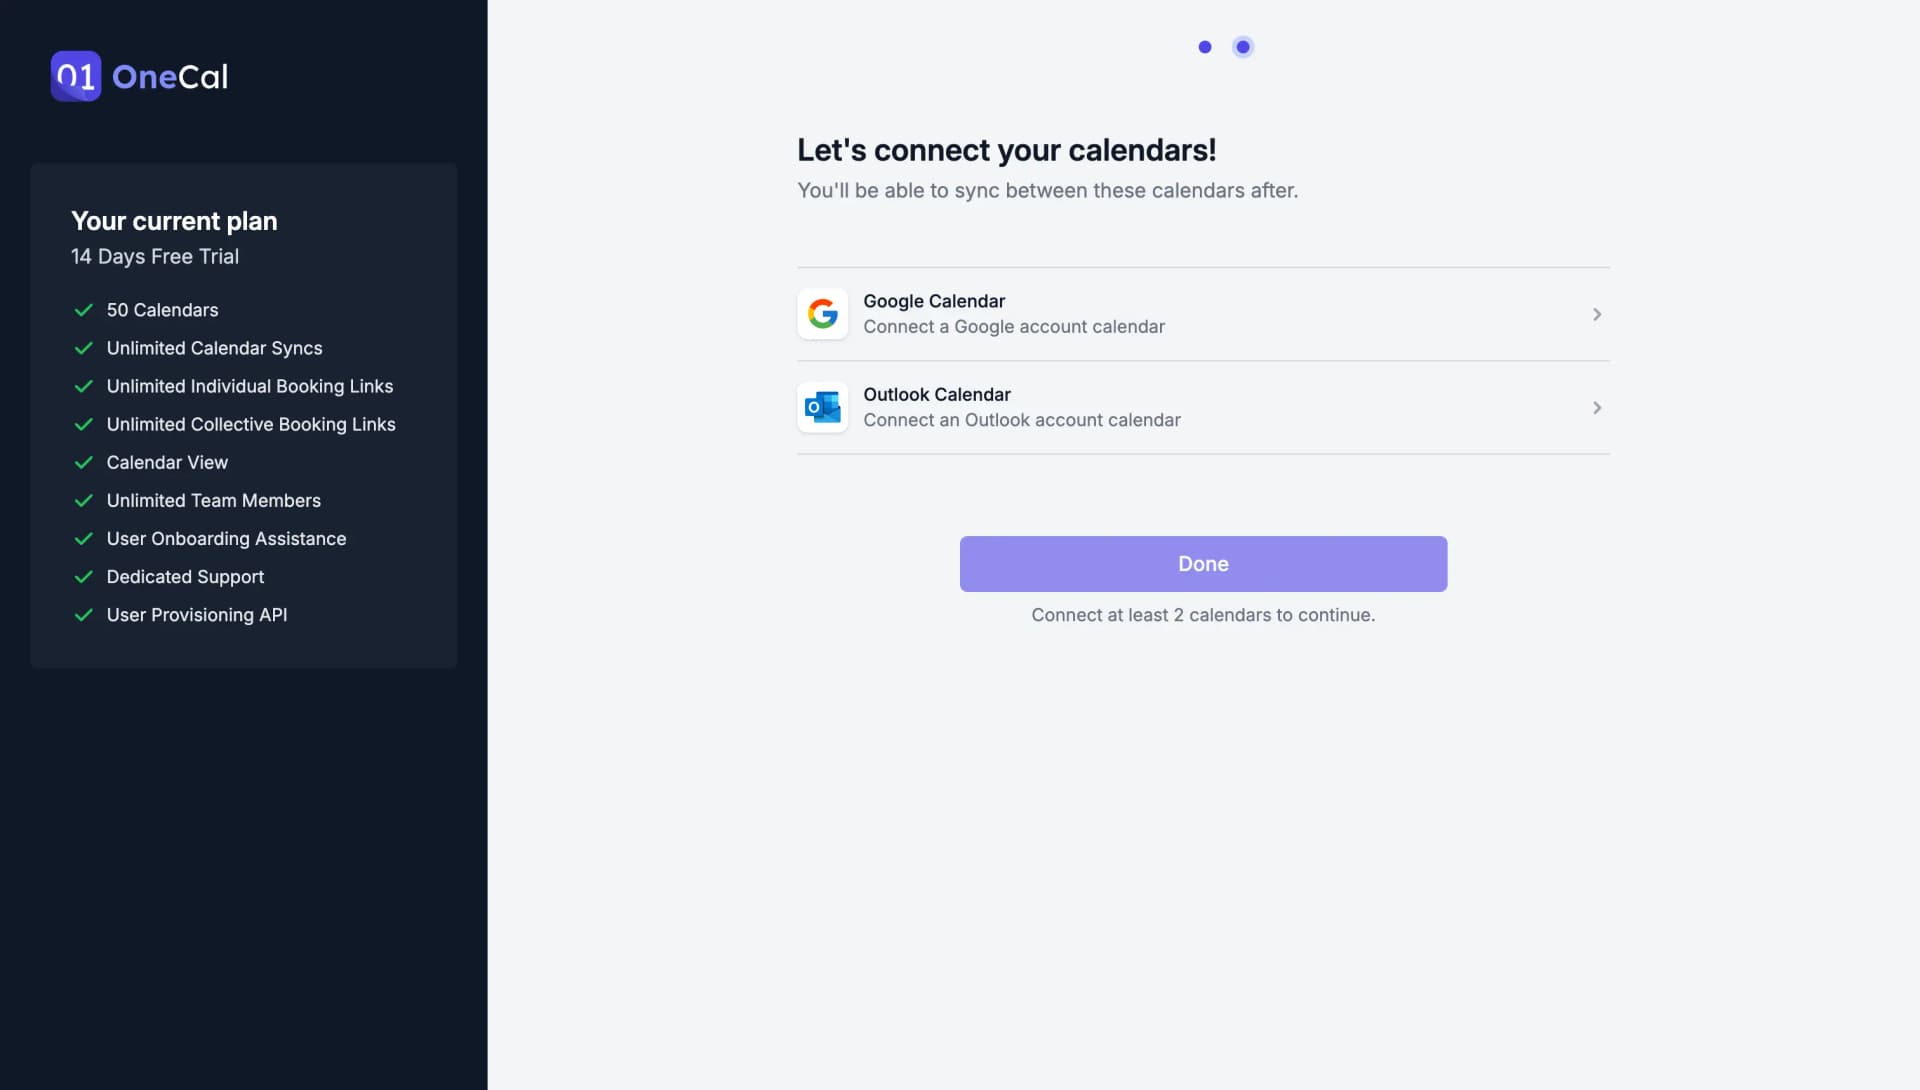
The last onboarding step is to connect your calendars. OneCal supports Google Calendar, Outlook Calendar and iCloud Calendar. After connecting your calendars, click Done.
Your first steps
You're now all set. Here is where to go next, depending on what you want to do:
- Keep your calendars in sync: Create your first one-way or multi-way calendar sync, and read the Calendar Sync intro to understand how syncing works.
- Let people book time with you: Create your first booking link and set up your booking page.
- See all your calendars in one place: Open the Unified Calendar View.
- Work with your team: Invite your team members to OneCal.
- Take OneCal with you: Install the mobile apps for iOS and Android.